
Weekend DIY: PAINTING THE BATHR00M
April 10, 2020
PAINTING THE BATHR00M
Bathrooms are generally small spaces and therefore painting one makes for an easy weekend project. While replacing tile and fixtures usually requires a professional, updating the bathroom with a fresh coat of paint is something anyone can do with a little time and preparation. It's no wonder bathrooms have replaced kitchens as the most frequently remodelled room in the house! Because bathrooms are exposed to high humidity and moisture it is important to choose paint that resists mildew and to prep the room properly. Here's a few tips:
CHOOSE THE RIGHT FINISH
For bathrooms, satin or pearl and semigloss paints have long been a natural choice because they are typically the easiest to clean and are formulated to stand up to stains. There are exceptions to this rule, such as specially-designed bathroom and spa paint that offers a beautiful matte finish yet resists mildew growth.
Keep in mind that stain and semigloss paints reflect light. This means they will not hide but accentuate any imperfections (e.g. seams, cracks) on the wall. Therefore, it is important to prep surfaces well and to put on primer before the paint.
BE COLOUR SMART
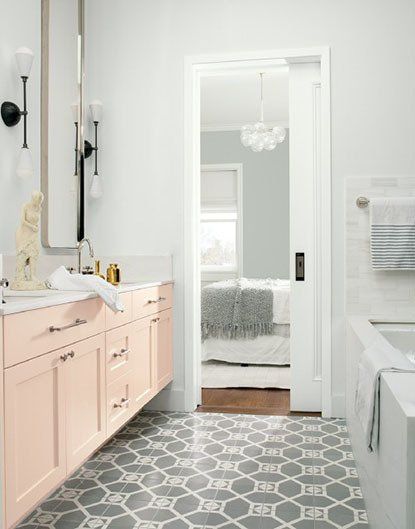
No window in the bathroom? Be aware that a lack of natural light can play tricks on your eyes when it comes to choosing bathroom paint colours. If your room only has overhead artificial light, view paint colour samples in the bathroom itself with the lights on. Otherwise, a sample that looks neutral in daylight can instantly appear peachy or mauve under a light fixture.
PREPARE PROPERLY
An ounce of prevention is worth a pound of headache down the road, especially if it means repairing and repainting mistakes that could have been avoided the first time.
· Take any removable items out of the bathroom, including the shower curtain.
· Wash the walls. Mildew is sometimes invisible to the eye, but it can linger on the walls, bleed through new paint or prevent it from adhering properly. Before painting wipe the walls with TSP or a solution of I part bleach to 3 parts water. Rinse well with clean water and wait for them to dry completely before painting.
· Cover the bathtub, taps and shower or any other surfaces you don't want to get paint on. Apply a protective border of painter's tape around doors, windows, baseboards and vanity edges.
· Prime any new drywall or repairs with a good quality primer. You may need to prime the entire room if you have a lot of imperfections or your previous paint job was completed with an oil-based product.
PRO TIP:
Paint the ceiling first
Paint the ceiling first, then the walls. Begin by "cutting in" a corner of the ceiling with a paint brush, applying a 2” to 4" wide band of paint along the area where the ceiling meets the wall. Then you can go over the area with a paint roller to prevent visible lap marks.
INSPIRATION:
https://www.benjaminmoore.com/en-us/project-ideas-inspiration/interiors/bathroom-ideas-inspiration
